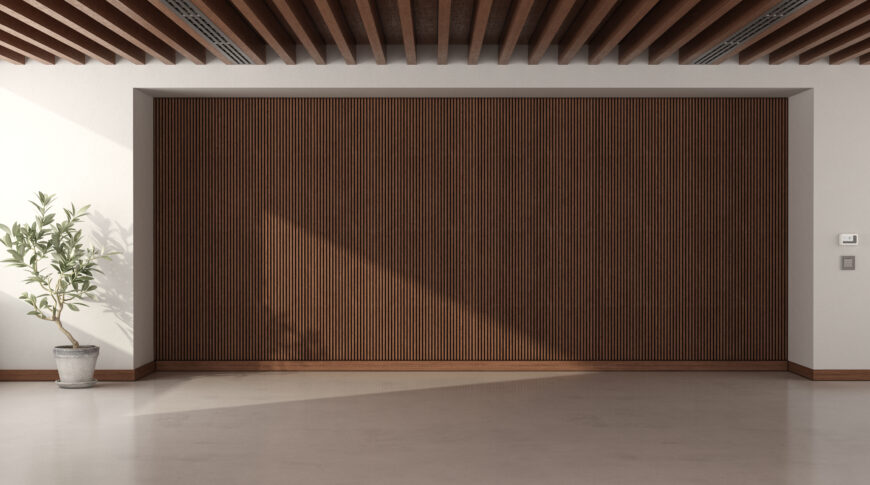
A great way to add a touch of modernity to your house is to install custom ceiling wood beams. With little effort, it can also become a DIY-friendly task that can help you style your home in any way you want. You can go for a boxed look placing your custom ceiling wood beams spaced, say 3-4 feet apart. The width and depth of the beams should be selected considering the dimensions of your room. If you have a larger room with high ceilings, opt for deep and wide custom ceiling wood beams.
To install the beams, follow this short guide or contact the High Design Renovation service. HDR service enables you to choose the custom ceiling wood beams of your own choice and assists you in the whole process of installation.
Start with The Nailer
Once you decide on your desired layout, the first thing you should do is place a dimension lumber nailer on the location of all custom ceiling wood beams. Opt for straight 2X lumber for this task. If you are using 2X4 nailers, two sides of end material and the width will make up to five inches. If you think you want more wide beams, choose nailers that are wider.
Install The Sides and The Bottoms
The sides of custom ceiling wood beams are usually in the dimension of 1X3, 1X4, and 1X6. You can use lumbers or hardwood for the sides. If you are using hardwood and you want to paint it, apply only one light brush before installing it to the ceiling. On the other hand, you can choose plywood or solid wood for the bottom.
To craft the bottoms, the simplest step-by-step approach is mentioned below:
- If you want the sides of your custom ceiling wood beams to peak through the bottoms, then cut the strips and install them at the bottom of the nailer.
- If there is a frieze, then carefully cut the measured side and bottom and clasp one end to the nailer with the help of 2-inch nails.
- Apply glue on one edge of the bottom and try to hold it in place. Then nail it to the attached side with the same 2-inch nails.
- Once the wood glue dries, clean up the excess with the help of a sander.
- Move on to spreading glue on the other bottom edge, hold it in place, and fix it to the base with 2-inch nails. Clamping it here and there will give you a strong joint.
- Clean up all the excess glue with a sander before it dries up on the wood.
Use Trim Strips for A Final Finish
There is a fat chance that the sides of your beams won’t fit into the ceiling. However, using trim strips will efficiently conceal this gap within your custom ceiling wood beams. Trim strips can even be a quarter-inch piece of lattice. If your ceiling beams have a larger depth, then you can trim the edges with the help of crown molding.
Following these instructions, we are positive that you can create a wonderful ceiling that will be mesmerizing to look at. If you prefer more professional work, you can recruit the High Design Renovation service in Miami which provides you with incredible custom ceiling wood beams and convenient, no-mess installation.

